全身鏡擺放與使用教學:讓穿衣檢查更快、化妝更順的 5 個步驟
📌 很多人以為全身鏡「買對尺寸就會好用」,但實際上,鏡子好不好用常常取決於擺放方式。你可能已經遇過:鏡子看得到身體,卻看不準比例;或化妝時角度不舒服,越看越想調。
步驟 1:先找你的「站位點」
拿一張膠帶在地上標記你平常穿衣/化妝會站的位置。原因很簡單:鏡子反射的是你站的位置。你站位固定後,鏡子高度與角度才有辦法被校準。
步驟 2:用「頭頂到鞋面」做高度判斷
穿衣檢查最常出錯的不是上半身,而是鞋面與褲腳。你可以站回標記點,看看鏡中是否能完整看到頭頂、肩線、腰線與鞋面。若看不到,通常不是鏡子不夠大,而是高度或擺放位置需要調整。
步驟 3:調整鏡面角度,讓你看細節更省力
化妝時你會更常「低頭看細節」,所以角度要讓你不用一直彎脖子。可以想像成看手機:角度太低會讓你不舒服、太高又看不到細節。鏡子也是同樣邏輯。
步驟 4:把光源納入計畫(避免臉部陰影)✅
如果鏡子旁邊光線太偏,臉部會出現陰影,你會覺得妝感不對。生活上常見做法是:讓主要光源落在你正面或側前方,避免背光。這也是為什麼同一面鏡子,在不同房間效果差很多。
步驟 5:自拍取景就用「自然站姿」校準
自拍鏡/穿衣鏡常被拿來拍照,但很多人會刻意擺姿勢,結果鏡子其實不適合日常站姿。建議你用自然站姿校準:能清楚看到穿搭重點、又不會讓比例看起來怪,通常就代表鏡面高度與距離合適。
簡單來說,鏡子反射遵循「入射角與反射角」的概念。你站的位置改變,反射到鏡中的影像就會改變;你調整鏡面角度,影像落在你視線中的位置也會跟著變。用生活語言翻譯:角度像是把畫面對焦,對了就更省力。
依據感提醒:先確認你要解決的痛點
有些人買全身鏡是為了穿搭,有些是為了化妝細節。你可以先想:你最常卡住的是「看不到鞋」還是「看不清臉部」。不同目標會影響你優先調整的項目(高度/距離/角度/光源)。
如果你想進一步對照商品規格
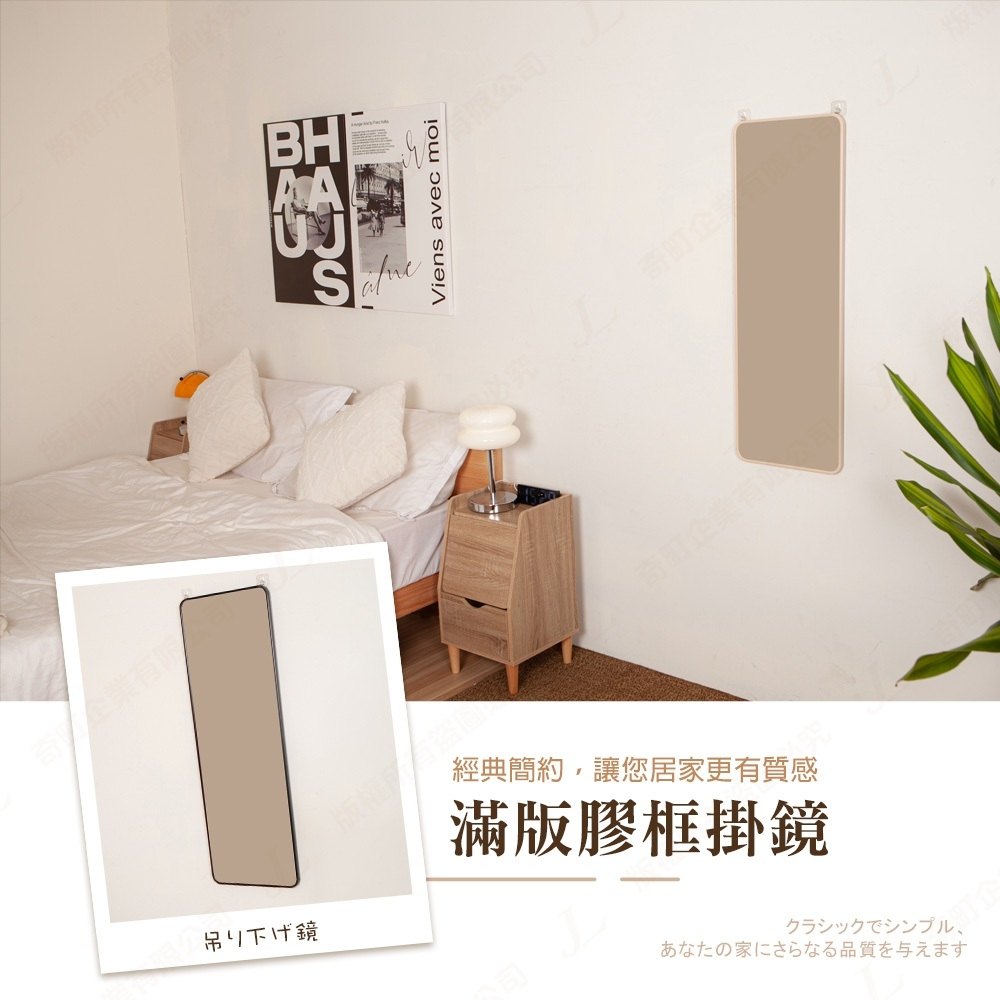
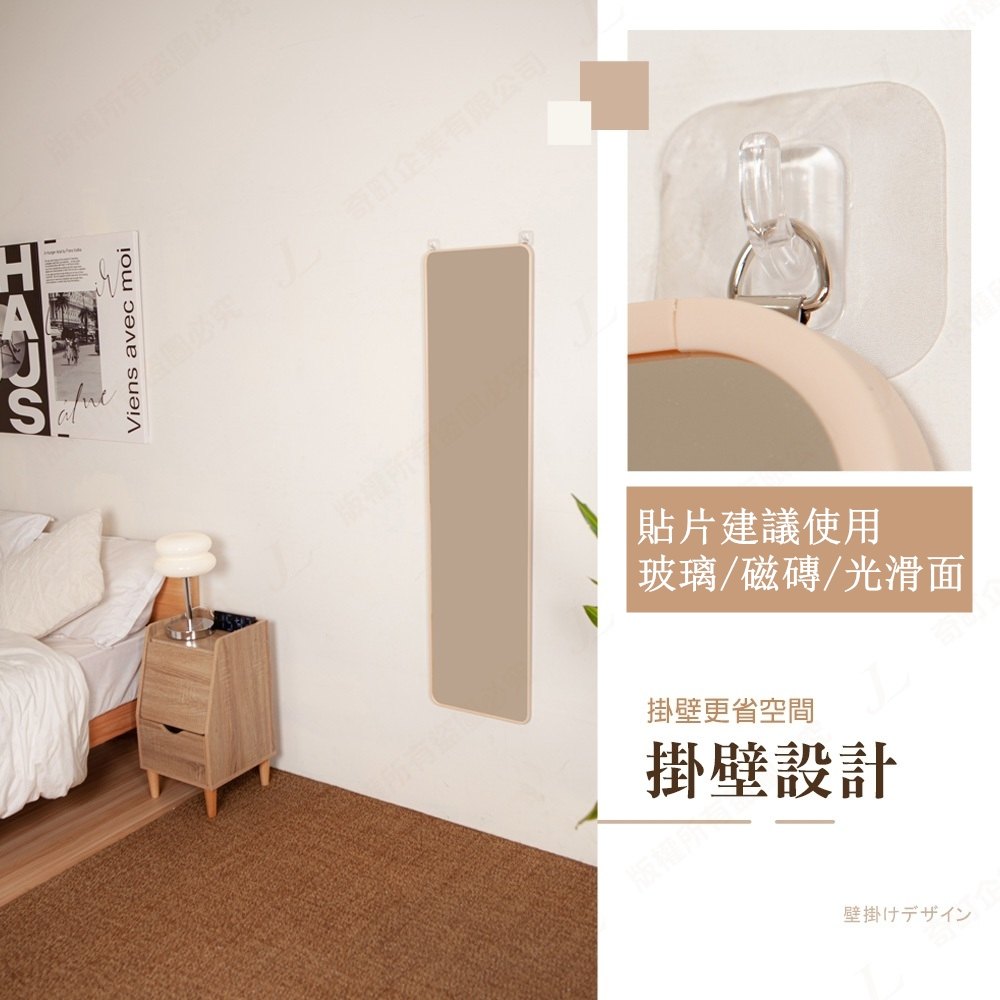
你可以再回到這類壁鏡/掛鏡/立鏡的商品頁,確認尺寸與適用安裝方式是否符合你的站位與空間。把你量到的站位距離帶回去比對,通常會更快找到合適的款式。
小提醒:目前資料未提供鏡子具體尺寸、安裝配件或鏡面材質細節;實際擺放前仍建議以商品頁規格為準。
💡 原理小知識
許多日常用品其實背後都有基本的運作邏輯,例如透過密封、隔離或結構設計來提升效率。可以想像成把原本分散的影響因素集中管理,因此在實際使用上會更穩定。
English Version
How to place and use a full-length mirror: 5 practical steps for faster outfit checks and smoother makeup
A full-length mirror can feel “wrong” even after purchase—usually because placement and viewing angle weren’t calibrated. This guide walks you through a simple 5-step setup using your standing position, height, angle, and lighting, with easy explanations of how mirror reflection affects what you see.
Step 1: mark your usual standing spot
Use tape to mark where you typically stand for dressing or makeup. Mirrors reflect your position—once your stance is consistent, adjusting height and angle becomes much easier.
Step 2: use head-to-shoe coverage as the height test
For outfit checks, confirm you can see head, shoulders, waist, and shoes. If shoes or pant hems are missing, it’s often a placement/height issue rather than the mirror being “too small.”
Step 3: fine-tune the angle for comfort
Makeup usually involves looking at fine details, often with a slight downward gaze. Adjust the angle so you don’t need to strain your neck—comfort is a sign the viewing setup matches your routine.
Step 4: include lighting to reduce harsh shadows
Lighting direction changes how your face appears in the mirror. If light is behind you, shadows can make makeup look uneven. Aim for light coming from the front or front-side.
Step 5: calibrate for natural posture (not exaggerated poses)
If you use the mirror for selfies, test with your natural stance. When the mirror height and distance match your everyday posture, proportions look more natural and checks become faster.