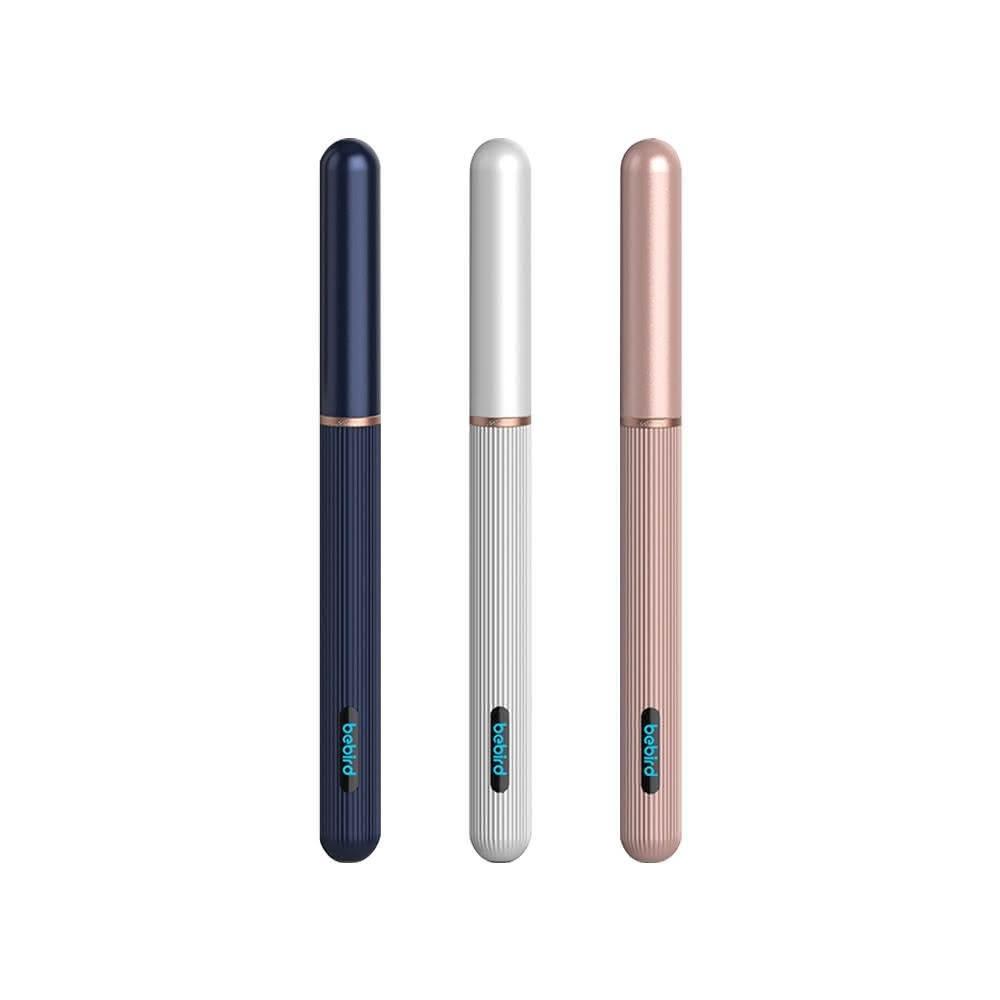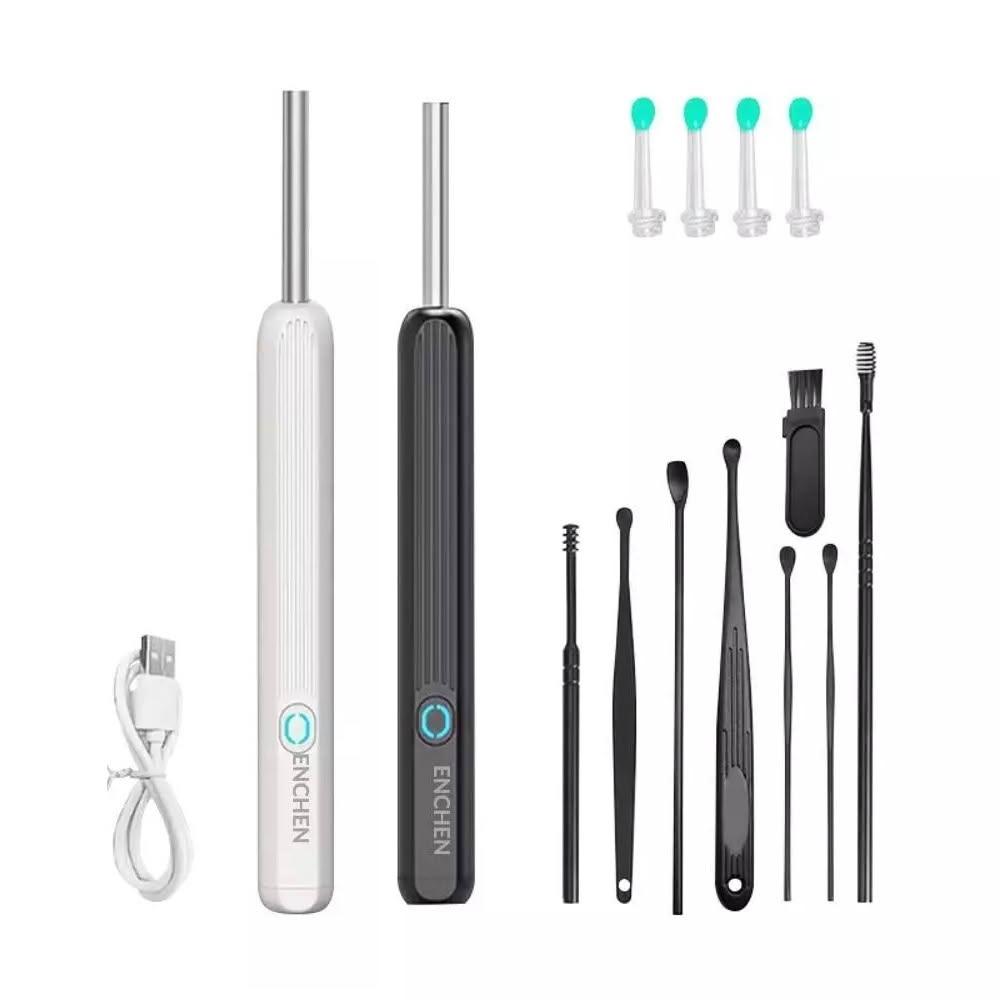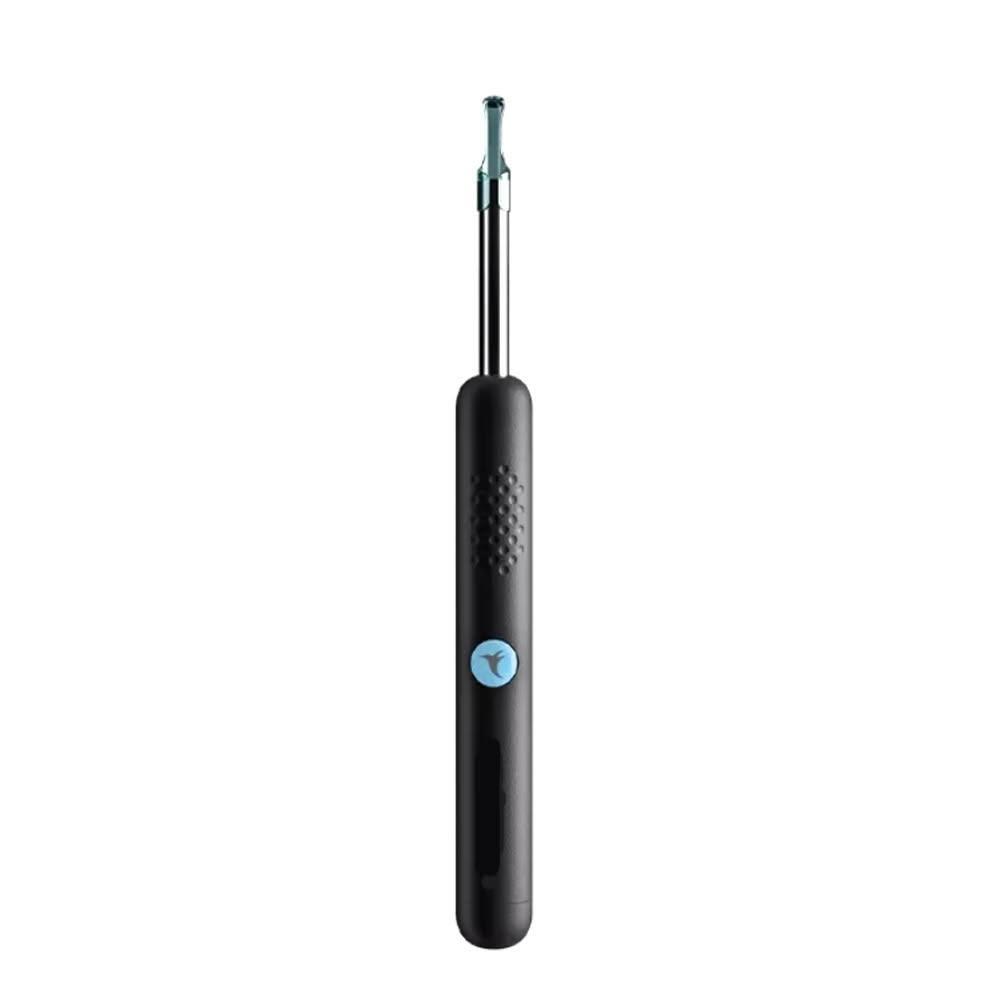
✅ 第一次用無線可視挖耳勺:從開機到收尾的「可重複流程」
如果你是第一次接觸 無線可視挖耳勺,很容易出現兩種狀況:不是畫面看不清楚,就是操作太快導致你來不及判斷。這篇把流程寫成你可以照做的步驟,讓你每次都能更穩。
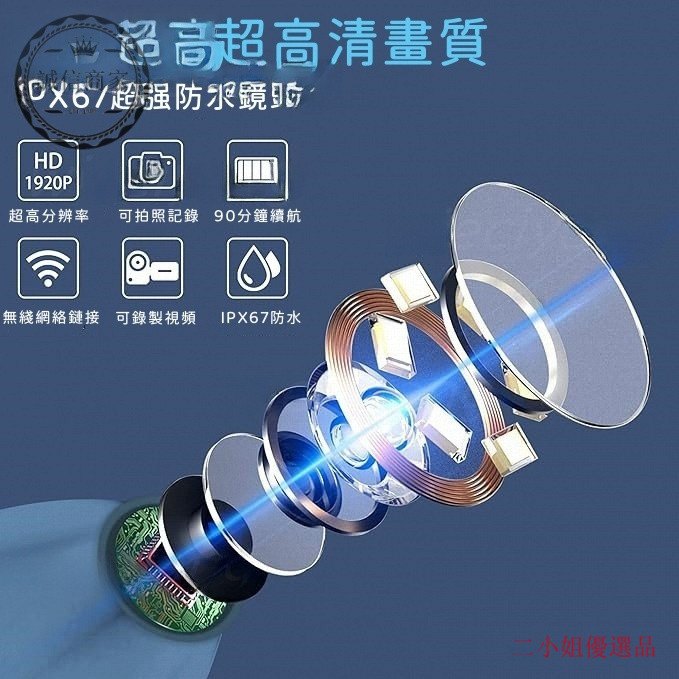
步驟 1:先把「環境」調到你能看清楚
可視挖耳勺的影像清晰度,除了鏡頭本身,也跟你操作時的光線與角度有關。你可以把它想成拍照:同一台相機,角度與距離不同,畫面感受就會差很多。
第一次使用建議你先在光線穩定的環境操作,並且在移動工具前先確認畫面是否能對焦、是否能看見你要觀察的區域。
步驟 2:開機後先「看畫面」再「做動作」
這類 挖耳內視鏡 的使用邏輯很簡單:先確認位置,再決定是否需要採耳棒/掏耳棒的下一步。你不需要急著動,因為你真正要做的是判斷。
如果你覺得畫面晃動,先停下來調整手的位置,讓影像穩定後再移動。穩定比用力更重要。
簡單來說,鏡頭看到的不是「整個耳道」,而是你鏡頭正對的那一小段區域。當角度偏了,影像就會變得不清楚或看不到你想觀察的地方。可以想像成手電筒照路:你轉一下方向,光就落在不同位置。
步驟 3:小幅度操作,讓每一步都有「可驗證的結果」
你可以把操作拆成「小幅度—再看畫面—再決定」。例如你覺得某個位置有需要處理的狀態,就先做很小的移動,然後回到影像確認是否有變化。
這樣做的好處是:你不會把一次操作當成全部解決方案,而是讓判斷更可控。

步驟 4:收尾清潔與保管(把下一次用得更順)
每次使用後,建議你把接觸部位清潔乾淨並保持乾燥,再收納到不易沾灰的地方。因為鏡頭與接觸面如果殘留髒污,下一次你看到的畫面就可能更不清楚。
目前資料未提供更細的清潔方式與材質耐受規格,建議你以商品說明書或賣場規格為準。
新手常見問題 FAQ
Q1:我看不清楚是不是代表不適合?
不一定。很多時候是角度、距離或光線造成的。你可以先把影像穩定,再慢慢調整位置。
Q2:無線會不會影響操作?
無線的目的是讓操作更自由。你仍需要先熟悉手感與影像延遲/連線穩定度(以實際使用為準)。
Q3:什麼情況要停?
若出現疼痛或明顯不適,請立刻停止並改以專業評估。本文不替代醫療建議。
如果你想更快上手,可以怎麼做?
你可以把這套流程當成「每次都先看畫面」的習慣。若你也在找同類型的無線可視挖耳勺,建議你再對照影像規格與實際操作方式,選擇更符合你手感與使用情境的款式。
💡 原理小知識
許多日常用品其實背後都有基本的運作邏輯,例如透過密封、隔離或結構設計來提升效率。可以想像成把原本分散的影響因素集中管理,因此在實際使用上會更穩定。
English Version
First-Time Guide to a Wireless Visual Ear Pick: A Repeatable Routine
New users often struggle with two things: getting a clear view and knowing when to stop. This guide breaks the process into a repeatable routine—power on and check the image, confirm position, make small moves, then clean up—plus a simple explanation of how angle affects what you see.
Step 1: Set up your environment for visibility
Image clarity depends on more than the camera. Lighting and angle matter. Start in a stable lighting environment and confirm the image is usable before moving the tool.
Step 2: Look first, move second
With a visual ear pick, the logic is to confirm position through the image, then decide whether to use the ear-picking tool. If the image is shaky, pause and stabilize your hand before adjusting.
Simple principle: why angle changes what you see
In everyday terms, the camera only “sees” the small section it faces. Change the angle and the view shifts—like aiming a flashlight down a hallway.
Step 3 & 4: Small moves, then clean and store
Use a small-move → check the image → decide again rhythm. After use, clean and dry the contact parts and store it properly. Specific cleaning instructions are not provided in the current data, so follow the product guidance.