腋下透氣吸汗墊怎麼貼才服貼?從清潔、位置到更換時機的實用教學
很多人第一次用腋下隔汗貼時會遇到兩種狀況:不是邊緣翹起、就是貼上後覺得悶。其實多半不是產品不行,而是「貼之前的皮膚狀態」與「貼的位置」沒有對上。💡下面用生活步驟把流程整理成你可以直接照做的版本。
步驟1:先把腋下變成「乾爽可貼」的狀態
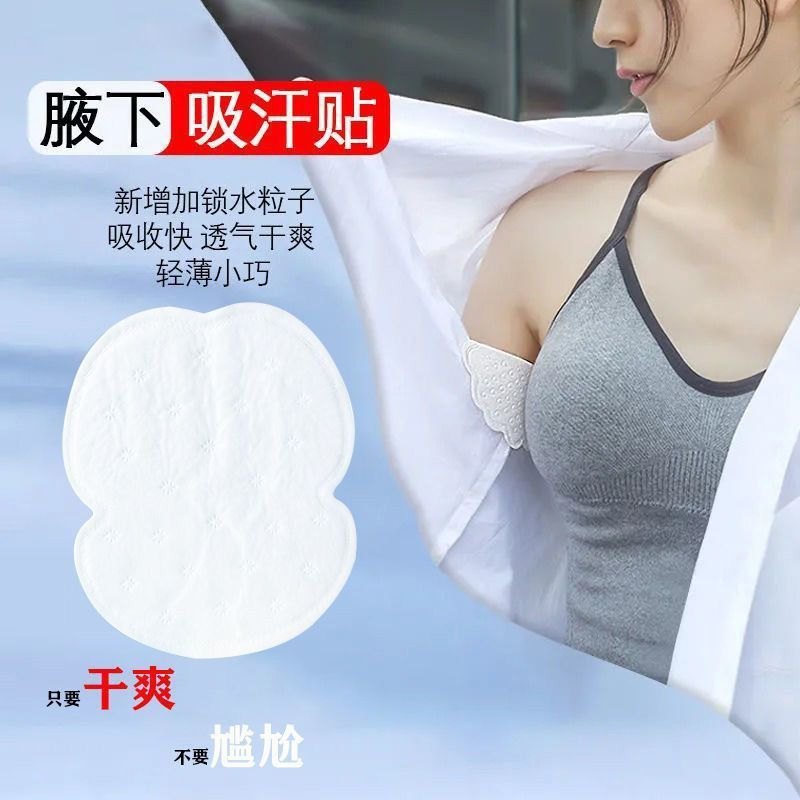
貼之前先清潔腋下,並確保表面乾燥。若你剛洗完澡或流汗,建議用毛巾輕按吸走水分,再等皮膚表面不再潮濕。因為貼片要發揮吸附與隔離效果,貼合需要穩定;表面太濕,容易造成邊緣不服貼。
帶有依據感的常識提醒:皮膚表面水分會影響黏著與貼合穩定性,這也是為什麼很多貼布類產品都建議在乾燥皮膚上使用。
步驟2:貼的位置要對,腋下不是「越靠裡越好」
腋下的形狀會隨手臂角度改變。一般來說,貼片應落在腋下主要出汗與摩擦區域,讓你抬手、走動時仍能維持貼服。你可以先用鏡子確認:貼上後手臂自然下垂,邊緣不應明顯捲起或露出。
如果你常穿襯衫或薄外套,建議把貼片位置稍微避開衣料最緊繃的縫線區,減少凸起造成的可見度。
步驟3:用「按壓定型」取代反覆調整
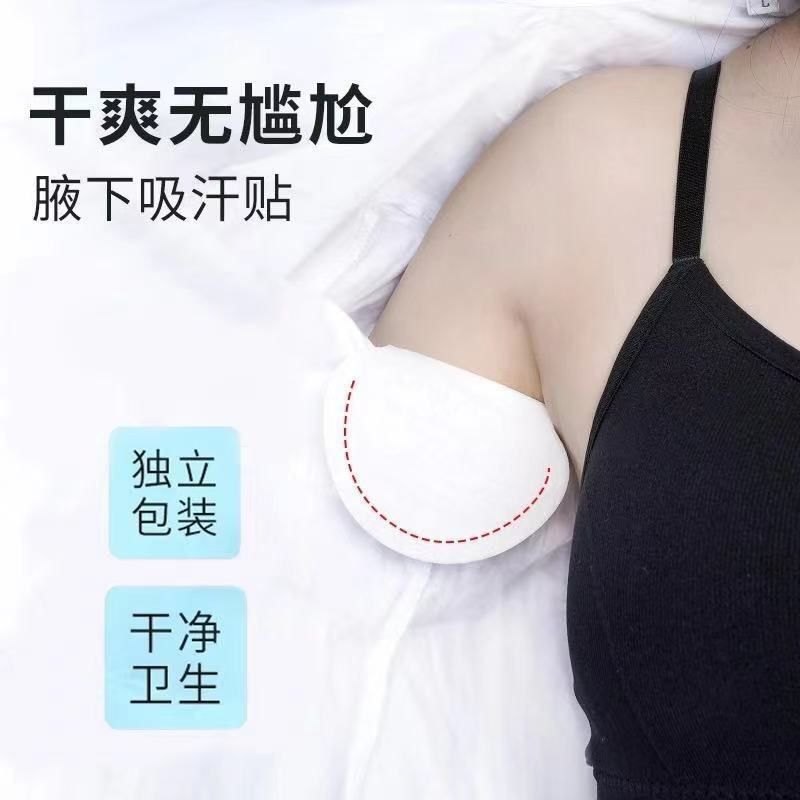
貼上後用手掌輕壓幾秒,讓貼片與皮膚貼合。避免一直拉扯或反覆撕貼,因為摩擦會讓貼片邊緣更容易失去穩定。可以想像成:像貼創可貼一樣,先定位置再按住,通常比一直調整更省事。
簡單來說,腋下透氣吸汗墊的效果來自兩件事:吸附與隔離。吸附需要貼片內部能接住汗;隔離則需要貼片邊緣不易翹起,讓汗不會從邊緣「繞出去」接觸皮膚與衣料。當貼合不穩,汗就更容易在邊緣累積,最後你會覺得不夠乾爽。
步驟4:更換時機怎麼抓?看「觸感與狀態」最準
你不一定要等到完全濕透才換。若你開始覺得貼片表面偏黏、或衣服腋下位置出現明顯濕痕,就代表吸附與隔離的效率在下降。日常建議是:在你最容易出汗的時段前後做一次評估,必要時更換。
若你有狐臭專用取向需求,維持乾爽更能降低異味反覆的機會。因為異味常與潮濕環境更容易累積有關,保持貼片狀態良好通常更符合你想要的日常管理。
FAQ:貼腋下隔汗貼最常見的疑問
Q1:我貼上後覺得悶,可能是什麼原因?
常見原因包括:皮膚表面仍有水分、貼片邊緣翹起導致汗在外側累積、或衣物材質太悶。你可以先從「乾燥貼合」與「位置調整」開始排查。
Q2:超薄隱形設計會不會更容易位移?
超薄通常是為了降低凸起,但位移與否仍取決於貼合穩定性。只要你在乾爽皮膚上貼、並按壓定型,通常能維持更好的服貼感。
Q3:可以搭配止汗產品一起用嗎?
可以,但要注意順序與乾燥時間。若你使用止汗產品,建議等其完全乾再貼,避免影響貼片黏著與貼合。
如果你有類似需求,可以進一步看看這類商品的規格與評價
每個人的出汗量與衣物材質不同,貼法也會因情境微調。你可以把本文的步驟當作基礎,再依你最常穿的衣服與活動量微調位置與更換節奏。
💡 原理小知識
許多日常用品其實背後都有基本的運作邏輯,例如透過密封、隔離或結構設計來提升效率。可以想像成把原本分散的影響因素集中管理,因此在實際使用上會更穩定。
English Version
How to Apply Underarm Breathable Sweat Pads for Better Fit: Cleaning, Placement, and Replacement Timing
Applying an underarm sweat patch correctly makes a noticeable difference. This guide covers practical steps—how to clean and dry, where to place it, how to press for better adhesion, and when to replace—so an underarm breathable sweat pad can deliver absorption and separation more effectively.
Step 1: Start with dry, clean underarms
Before applying, clean the area and make sure the skin surface is fully dry. If you just showered or you’re still sweaty, gently pat dry and wait until the surface no longer feels damp. Stable adhesion is key for both absorption and separation.
Step 2: Placement matters more than people think
Place the pad on the main sweat and friction area. After sticking, check in a mirror with your arm relaxed: edges shouldn’t curl up or lift. For fitted shirts, avoid placing it where seams or tight fabric create extra pressure.
Step 3: Press to set—avoid repeated repositioning
After placing it, press lightly for a few seconds to help it conform to the skin. Repeated pulling and re-sticking can reduce edge stability. Think of it like applying a bandage: set the position first, then press.
Simple mechanism: why fit affects absorption
In simple terms, the pad works through absorption and separation. If the edges lift, sweat can “escape” around the perimeter and reach skin and clothing. Better edge stability means better performance and a drier feel.