熱縮管接線教學:從套管到收縮完成,讓防水絕緣更到位的 6 步驟
第一次用接線熱縮管的人,常會遇到兩種狀況:不是熱縮沒收緊,就是收緊了但接線兩端沒包到位。其實這多半跟「順序」與「加熱控制」有關。💡 下面用生活化步驟帶你做一次,讓防水絕緣更接近你想像中的效果。

施工前先準備:你需要的不是很多,但要對
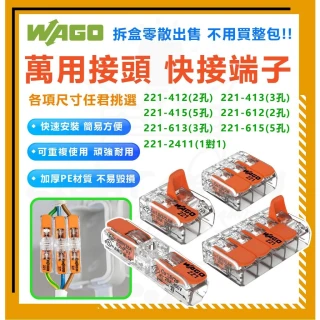
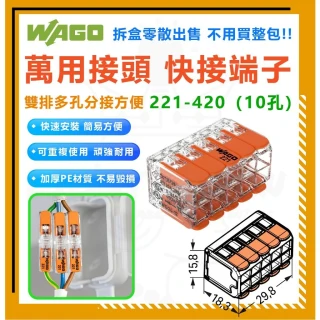
一般來說,你會需要:電線剝線工具、剪刀/剝線鉗、(視情況)焊接工具或端子壓接工具、以及熱縮加熱來源。若你選用的是帶焊錫環或接線端子設計的熱縮管,流程會更順,因為焊料或端子定位更集中。
6 步驟完成防水絕緣接線
Step 1:先確認電線外徑與熱縮管尺寸
尺寸不對會直接影響收縮後的貼合度。你可以先把熱縮管套到電線上試試看,確認收縮後能包覆到位。
Step 2:剝線並把線芯整理平整
線芯如果有毛邊或扭結,焊接或端子接觸就容易不均。整理平整,等於先把「接觸品質」打底。
Step 3:先把熱縮管套上(很多人會忘)
這是新手最常見的失誤:接完線才發現熱縮管沒先套上。把熱縮管先套好,後面就能專注在接線品質與收縮一致性。
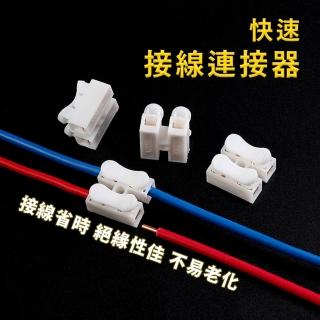
Step 4:完成接線(焊錫環/端子依你的做法)
如果你用的是焊錫環設計,焊料通常會更集中在接點附近;若你用端子,則重點是壓接或固定要到位。這一步做得穩,後續收縮才不會變成「補救」而非「保護」。
Step 5:加熱收縮到位,注意兩端包覆
加熱時讓熱縮管均勻收縮,並確認兩端有包覆到電線外皮。帶防水絕緣概念的熱縮管,通常希望你看到收縮後輪廓更完整、貼合更一致。
Step 6:檢查與簡單測試
檢查外觀是否有明顯空隙、是否有鬆動感。若是室內線路,也可以用輕拉測試確認接點穩定。若你在戶外或潮濕環境,建議把接線處再做固定與走線保護,讓它不被反覆拉扯。
簡單來說,熱縮管要「貼合」才有防護效果。加熱不均可能造成局部收縮不足,形成微小縫隙;而水氣常常就是從這些微縫慢慢進入。可以把它想成把塑膠外殼均勻縮緊,越均勻越像一體成形。
帶依據感的提醒:常見失敗原因通常很一致
根據多數使用者的回饋,失敗案例多集中在三點:尺寸不符、熱縮範圍不足、以及加熱時間/均勻度不夠。這些都不是材料突然變差,而是施工環節沒有把「貼合」做到位。
FAQ:你可能會問的細節
Q1:加熱用什麼比較好?
常見做法是使用熱風或對應的加熱工具。重點不是品牌,而是能讓熱縮管均勻受熱,避免局部過熱或收縮不完整。
Q2:收縮後有皺褶正常嗎?
少量皺褶可能與加熱速度、管壁狀態有關。若皺褶伴隨明顯空隙或兩端包覆不足,就建議重新處理。
Q3:能不能只用熱縮管不做端子?
可以,但前提是你的接線方式本身能確保電氣接觸與機械強度。熱縮管主要是保護與絕緣,不是取代接線品質。
Q4:戶外用要更嚴格嗎?
是的。戶外除了防水絕緣,還要避免接線處反覆受力與直接淋水。你可以把熱縮完成後再做固定,讓它在環境中更穩定。
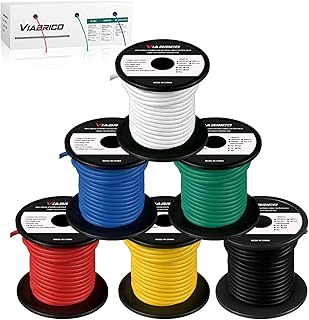
如果你有類似需求,可以進一步看看這類商品的規格與評價
你若常做小型維修或設備接線,選擇適合電線尺寸、並且施工流程順手的接線熱縮管會省很多時間。對照商品規格與實際使用分享,通常能更快找到適合你手上線材的組合。
💡 原理小知識
許多日常用品其實背後都有基本的運作邏輯,例如透過密封、隔離或結構設計來提升效率。可以想像成把原本分散的影響因素集中管理,因此在實際使用上會更穩定。
English Version
Heat Shrink Wiring Tutorial: 6 Steps to Make Waterproof Insulation Feel Right
To get truly waterproof insulation, the material name matters less than the installation order and heating quality. This tutorial walks you through a practical 6-step process for using waterproof insulated heat shrink wire connectors, including common mistakes and a simple explanation of how heat shrink sealing works.
Before you start: match the size and keep the workflow simple
Start by checking the heat shrink tubing size against your wire’s outer diameter. Prepare basic tools for stripping and connecting, and if your set includes solder rings or terminals, the process becomes more straightforward because the connection points are easier to position.
The 6-step process (from sliding the tube to final inspection)
1) Confirm size 2) Strip and tidy the wire strands 3) Slide the heat shrink tube on before connecting 4) Make the connection (solder ring/terminal depending on your method) 5) Heat evenly until fully shrunk and both ends are covered 6) Inspect and do a simple stability check.
Principle in plain language: why even heating affects waterproof sealing
Heat shrink works because it conforms tightly after heating. If heating is uneven, some areas may not contract fully, leaving micro gaps. Moisture can travel through those gaps over time—so even heating helps the tubing become a more uniform protective layer.
FAQ for common questions
Questions like what heating method to use, whether wrinkles are normal, and how to handle outdoor wiring are usually tied to coverage and connection quality. If you see gaps or insufficient end coverage, rework is the safer choice.