6-Inch Rotating Photo Frame Tutorial: How to Swap Dual-Sided Photos and Style the Stand
Not sure how to replace photos or where to place a rotating frame for the best look? This step-by-step guide walks you through the full process—insert photos, align properly, test rotation, and style the wooden stand—so your 6-inch rotating photo frame becomes a daily habit. 💡
Step-by-step: insert dual-sided photos correctly
Prepare the right photo size, place each photo gently into its side, and ensure the corners align with the frame edges. Proper alignment helps the rotation feel smooth and prevents friction.
How to test rotation and avoid “stuck” moments
After closing the frame, do a light rotation test on a flat surface. If you feel resistance, stop and re-check photo positioning and internal alignment—don’t force it.
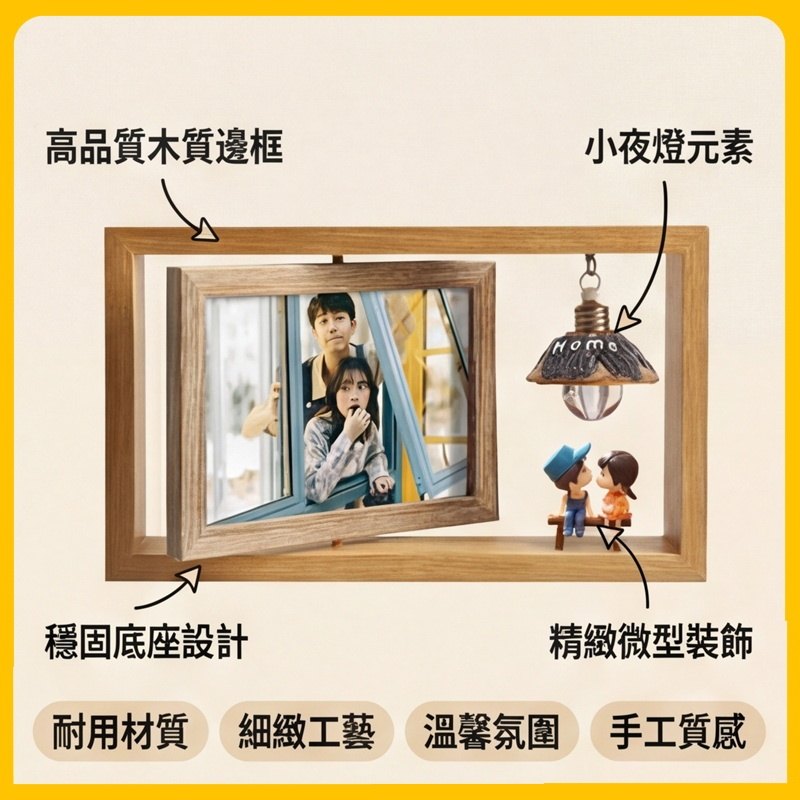
Styling tips for a wooden rotating stand
Use height and negative space: place the frame at eye level or slightly lower, and pair it with minimal items like a small plant or soft lighting to enhance the warm wooden aesthetic.