牙線怎麼用才不會「越弄越卡」?高彈力成人牙綫的正確操作要點與原理
📌 你是不是也試過:牙線明明想清乾淨,結果在牙縫前就卡住、或拉一下就覺得很不舒服?這通常不是你不夠用心,而是操作角度、貼合方式或力度沒有對上。
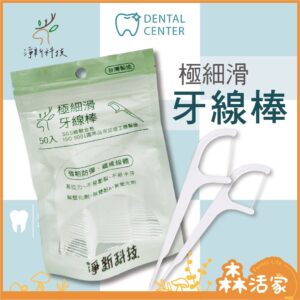
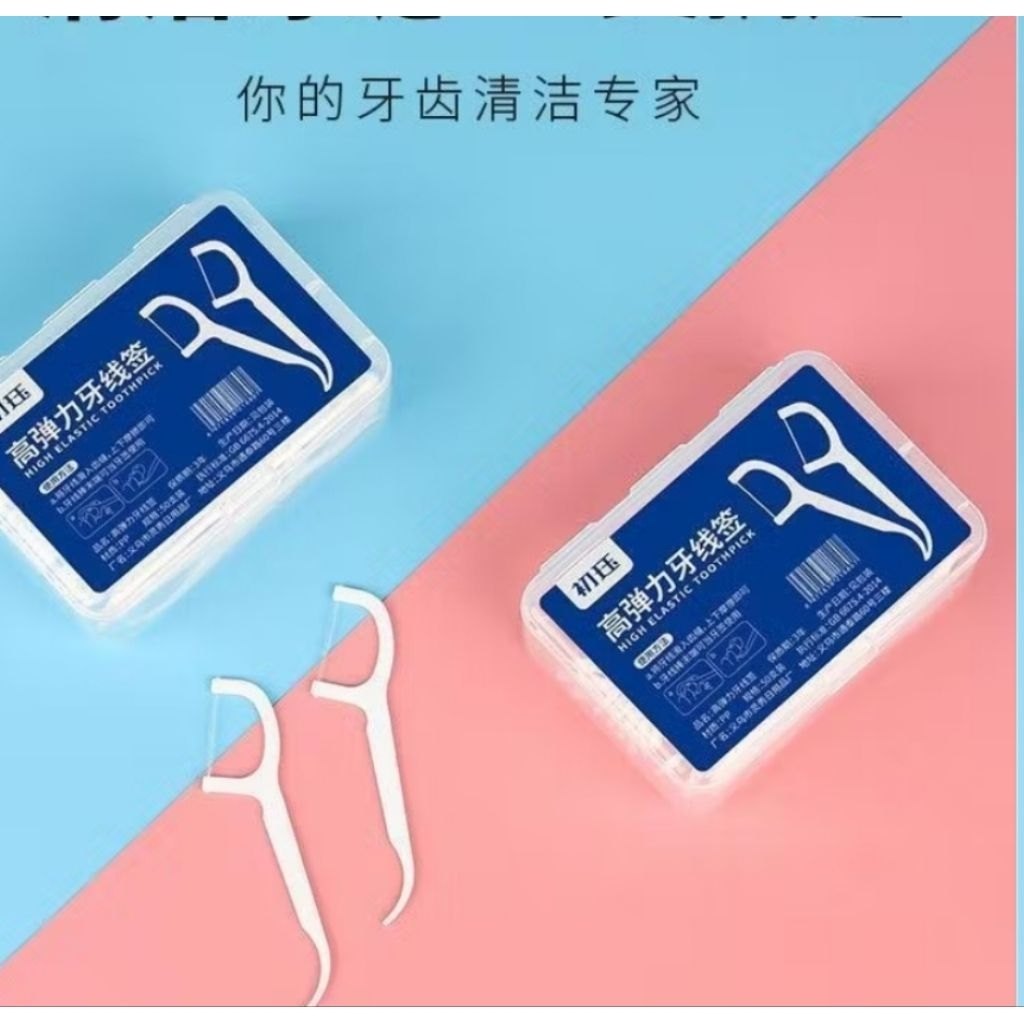
下面用一個「逐步可核對」的方式,整理 高彈力成人牙綫白色新一代 的使用要點,讓你更容易進入狀況。
操作前先做兩件事:長度與節奏
很多人牙線用不好,是因為一開始就把自己綁住了。你可以先確認:
- 牙線長度夠不夠:太短會讓你手部動作受限,容易變成硬拉。
- 節奏慢一點:先把牙線送入牙縫,再進行貼合與滑動;不要一開始就急著來回。
高彈力成人牙綫的彈性特點,通常能讓你在「送入」這一步更順,但仍需要你用對節奏,才能把彈性用在正確的地方。
簡單來說,牙縫的髒污不是只在中間,它更常附著在牙齒側面與靠近牙齦的邊緣。牙線如果只是直直拉來拉去,接觸面就不夠;貼合牙面後,牙線才像「沿著邊緣擦過」,清潔才更有效。
你可以想像成擦玻璃:擦中間不如擦到邊框。牙線的目標就是把接觸做到位。
一步步做:角度、貼合、滑動
- 送入牙縫:用輕柔的方式引導牙線進入,避免用力硬擠。
- 貼合一側牙面:把牙線貼向其中一側牙齒,讓它接觸到牙面。
- 上下滑動:沿著牙齒側面輕輕上下移動,重點是「貼合」而不是「拉扯」。
- 換另一側:同一個牙縫再貼向另一側,重複滑動。
- 使用乾淨段落:避免把清下來的殘留再帶回去。
常見失誤排查:你卡住時可以先看這幾點
以下是使用者最常遇到、也最容易改善的狀況:
- 覺得送不進去:多半是角度太直或節奏太急。試著放慢,先引導再貼合。
- 覺得拉扯不舒服:通常是力度過大或沒有貼合到牙面。把動作改成「輕貼合+短距離滑動」。
- 牙線容易散開或斷裂感:可能與你用力方式、牙縫狀況或段落重複使用有關。先從減少用力、增加乾淨段落開始排查。
帶有依據感的判斷:為什麼「彈性」會影響手感?
口腔清潔工具的差異,常常體現在「你能不能穩定控制接觸」。彈性較好的牙線,通常更容易維持操作時的張力與方向,讓你更容易做到貼合與滑動。當你能穩定貼合,清潔接觸面就更一致,體驗也更容易變好。
如果你有類似需求,可以進一步看看這類商品的規格與評價
每個人的牙縫緊密度與敏感程度不同。你若正在找更好操作的牙線類型,可以再對照 高彈力成人牙綫白色新一代 的使用感,看看是否符合你目前遇到的「卡住、拉扯、難貼合」狀況。
💡 原理小知識
許多日常用品其實背後都有基本的運作邏輯,例如透過密封、隔離或結構設計來提升效率。可以想像成把原本分散的影響因素集中管理,因此在實際使用上會更穩定。
English Version
How to floss without making it “more stuck”: key techniques and the simple principle behind high-elastic floss
Many people struggle with flossing—either it won’t slide into the gap, or it feels snaggy and uncomfortable. This guide breaks down practical, checkable steps for using high-elastic adult dental floss: controlling angle, achieving side-to-side contact, and using the right sliding motion. It also includes common troubleshooting tips so you can improve quickly.
Two setup steps before you start
Good flossing begins with workable length and a calm pace. Too short makes your hand movements restricted and encourages pulling. A slower rhythm helps you guide the floss in first, then focus on contact and sliding.
The simple principle: contact with the tooth side matters
Most residue clings to the side surfaces and near the gumline—not just the middle. When floss is pressed against a tooth side, it can “wipe along the edge,” making cleaning more effective. If it only moves back and forth in the center, contact area is limited.
Step-by-step technique
Insert gently, press the floss against one tooth side, slide up and down along that side, switch to the other side, and use a fresh section for each gap. The goal is light contact and short, controlled motions.
Troubleshooting: if it feels stuck
If it won’t go in, adjust angle and slow down. If it feels tuggy, reduce force and focus on side contact. If you notice fraying or break-like sensations, start by using less force and switching to a cleaner section.