Proposal Balloon Kit Setup Tutorial: 6 Steps From Zero to Done
Not sure how to arrange a proposal balloon kit? Follow this 6-step workflow—from choosing the message and placement to layering, fixing, and photo angles—to get a clear, premium-looking surprise. ✅
Step 1: Choose the Core Message
Write down your key elements first (date, initials, or a short proposal concept). Kits that include numbers and letters make the message easier to assemble.
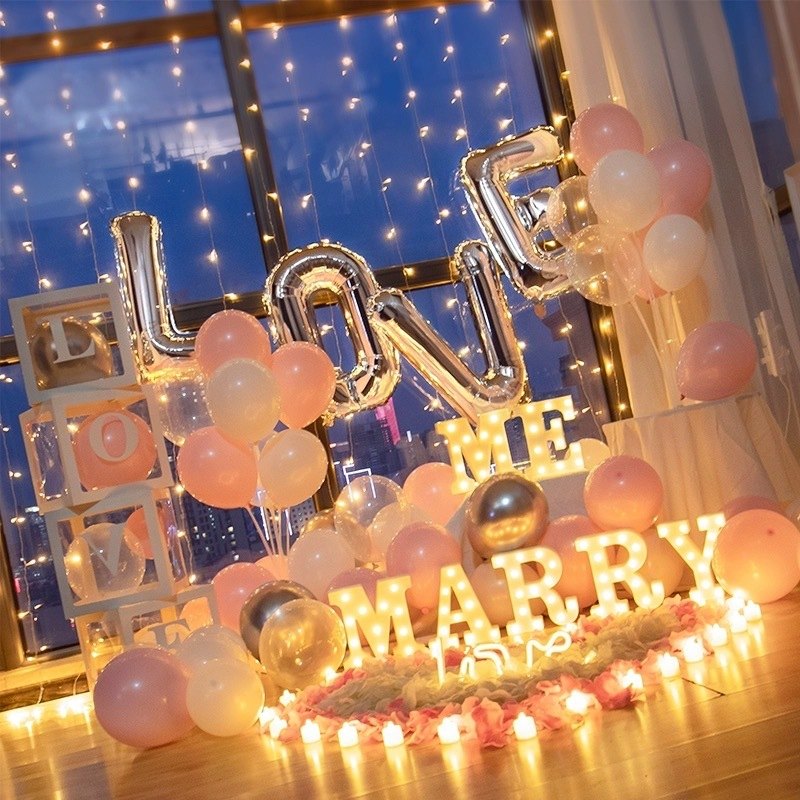
Step 2–4: Plan Placement and Create Layering
Mark the spot in advance, then place the main letters/numbers as the foreground and use shapes as background accents. Fix and check alignment so the wording stays readable.
Step 5–6: Photo Angle + Walkthrough
Use simple composition rules (center or thirds) and take a quick test photo. Then do a short movement rehearsal so the other person sees the message naturally.

 的層次感。
的層次感。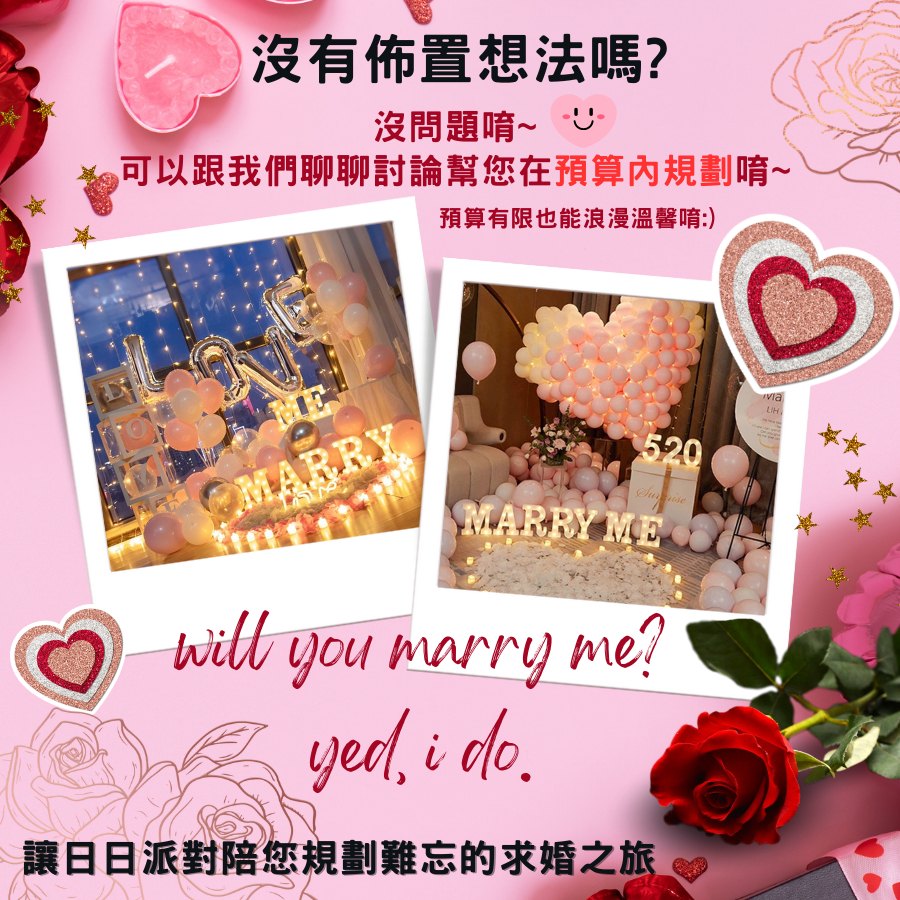 提供一個常見的拍照構圖方向。