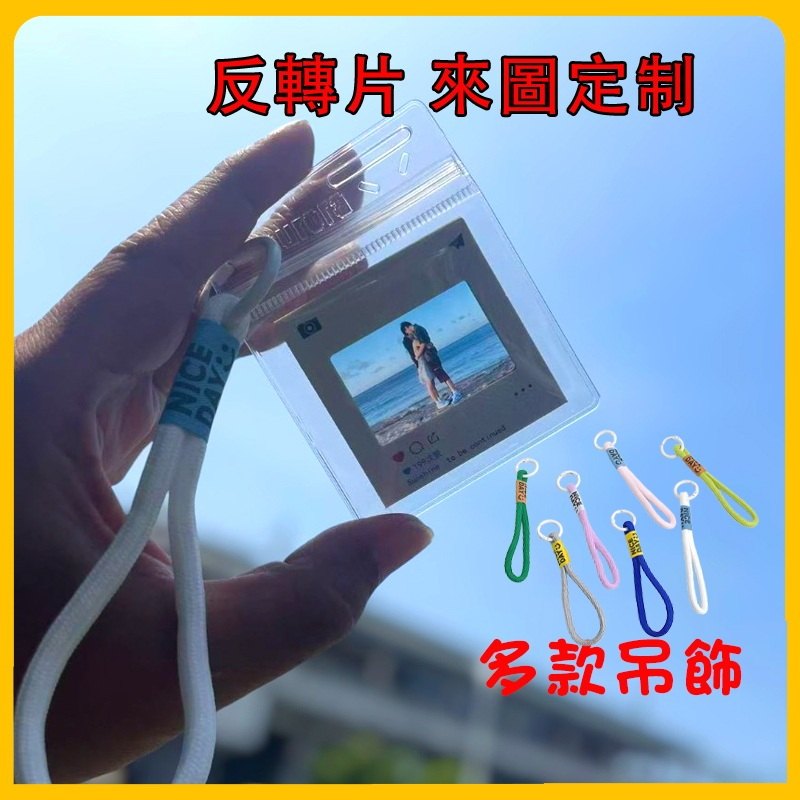
DIY Guide for Custom Photo Film Cards: From Photo Ratio to Perfect Adhesion
New to DIY custom photo film cards? Learn how to choose photo composition, cut along the red frame, and use the built-in adhesive for a clean transparent finish—plus a quick size reference and FAQs.
Step 1: Choose photo composition to reduce unwanted cropping
If a photo ratio isn’t provided, the product may use a “picture-in-picture” approach to avoid cutting the main subject. Center your key subject and avoid placing important details at the edges.
Step 2: Cut along the red outline
Each film includes a red frame. Cut along the red line to prepare the photo piece for placement into the adhesive frame.
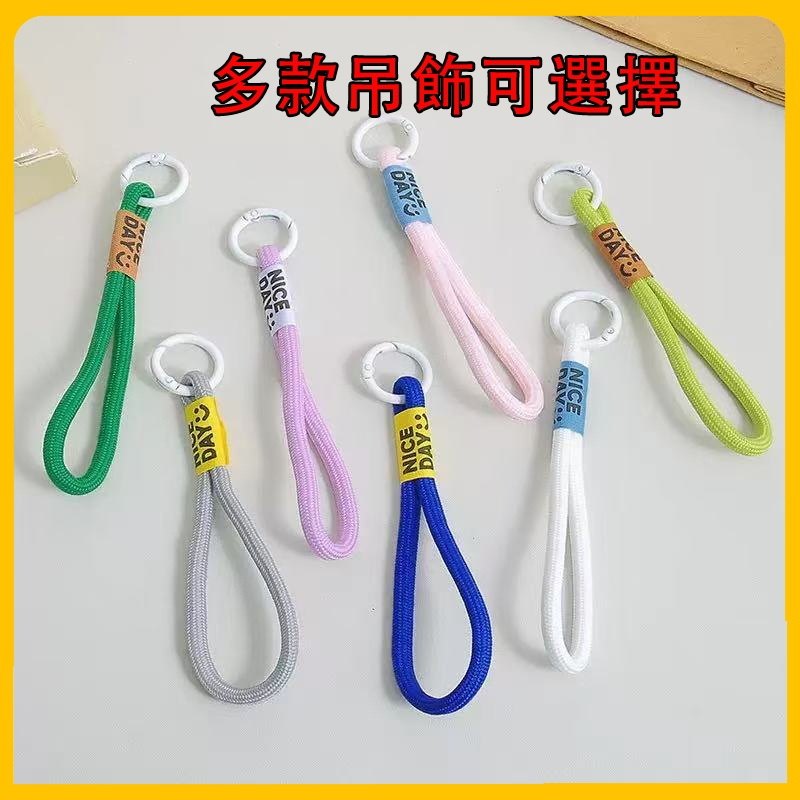
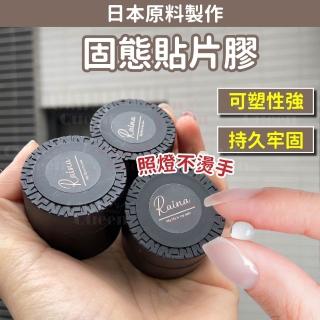
Step 3: Align and paste using the adhesive frame
The frame comes with adhesive and is designed as a double-sided holder. Align first, then paste gradually. Lightly press the edges to help the transparent film sit flat.
FAQ for common DIY issues
If cutting is slightly off, alignment to the inner window matters most. For minor bubbles, gentle pressing can help the film adhere more smoothly.